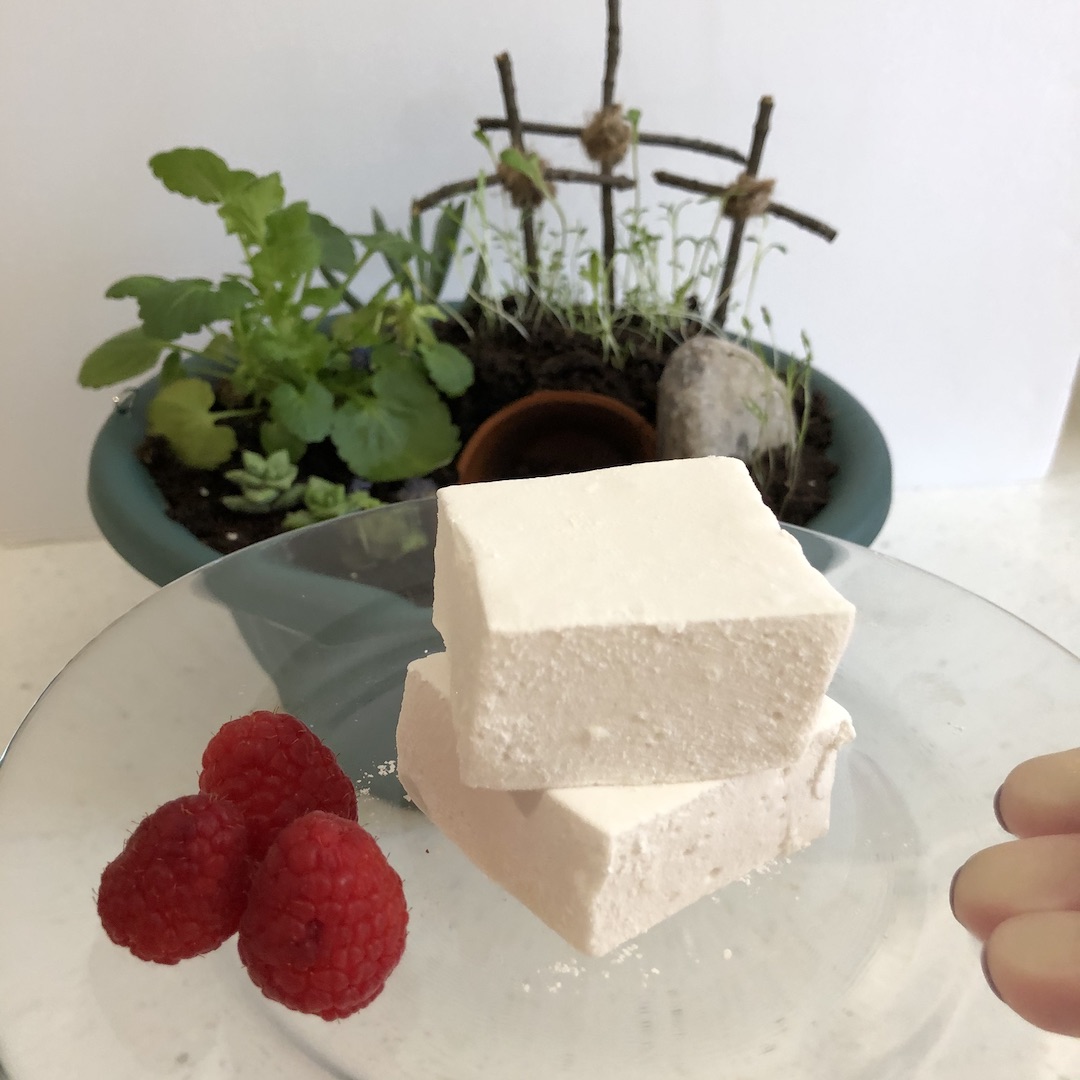
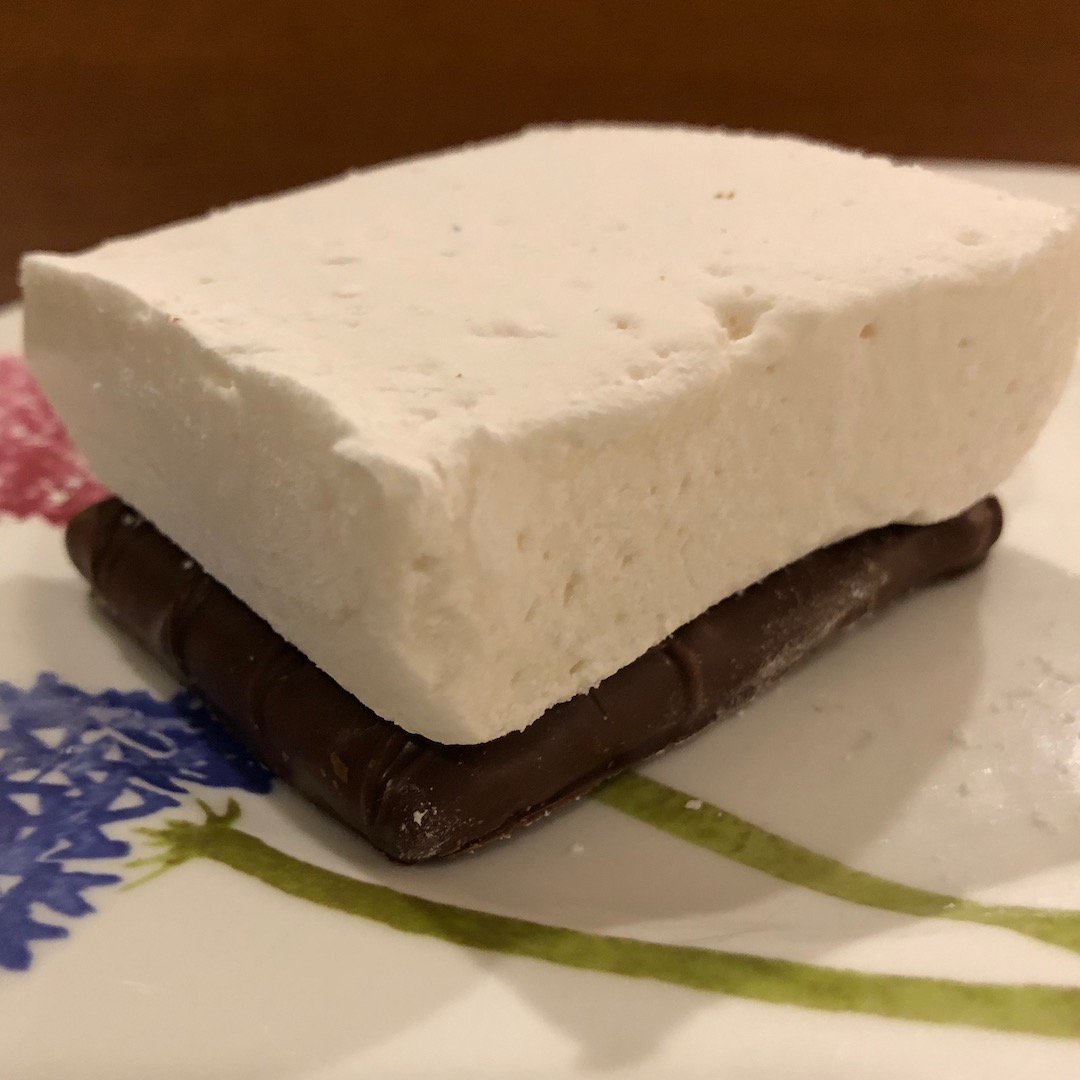
Easter egg hunts with jelly beans, marshmallow peeps and chocolate eggs. Fun times. But some of our kids feel left out. Or some of you do. Or some of you want a more grown up treat than sickly sweet marshmallow peeps.
Have you even considered making marshmallows? I never had until two things spurred me on. One was the outrageous price of artisan / “homemade” marshmallow at Williams Sonoma.
The other was a blog post from King Arthur Baking Company on homemade marshmallows – Ode to Elise. (King Arthur has recently changed the blog post accompanying their marshmallow recipe.). The author claimed that marshmallows were not that hard – really?
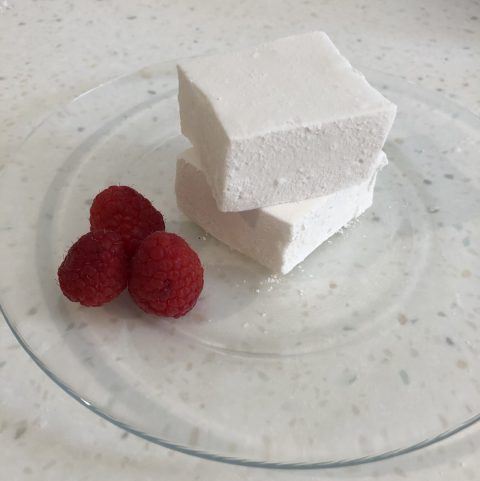
I gave it a try and I was hooked. Yum.
Plus they are egg free, dairy free, gluten free, nut free, soy free!!
Let me be clear. Marshmallows are NOT “good for you.” They are a treat with almost all their calories coming from sugar. But if you are going to have a treat – this is a delicious one!
Equipment
You do need some equipment to make marshmallows:
- A thermometer (I just use my instant read thermometer and a pair of heat resistant silicone mitts since my candy thermometer has not been calibrated in 30+ years!!)
- A stand mixer. I have heard you can use a hand mixer, but when I watch how much steam comes off of the marshmallows as they are being mixed, I would wear tall oven mitts if you are using a hand mixer and long thick sleeves. Steam burns are no joke.
- Parchment paper and something to grease the pan.
- A heavy, deep pot
- A pizza wheel cutter – the hardest part of this recipe is cutting the marshmallows into pieces. I have found a pizza wheel to work better than anything else. However you still need to rinse periodically. I often spray it with cooking spray to facilitate cutting. Other people use a knife.
Ingredients
- Unsweetened, unflavored Gelatin – I use two packets instead of three because my family likes the texture better. The marshmallows made with two packets of gelatin are creamier and less “springy.” Both are delicious.
- Sugar
- Water
- Vanilla or other extract
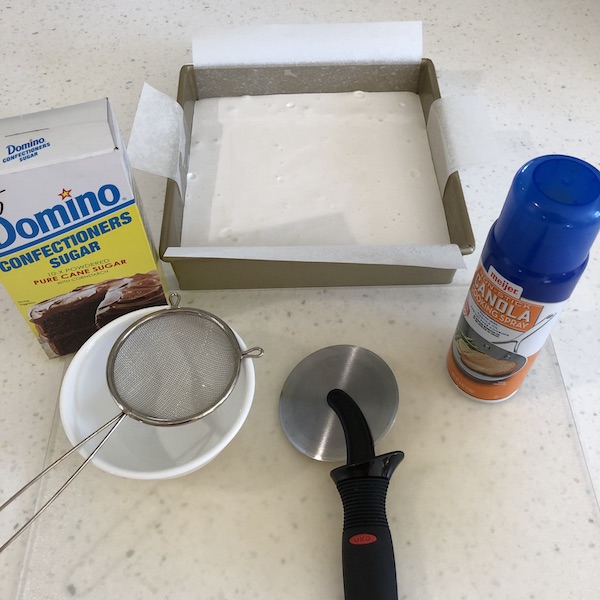
- Powdered sugar and perhaps corn starch as well – to keep the finished marshmallows from sticking.
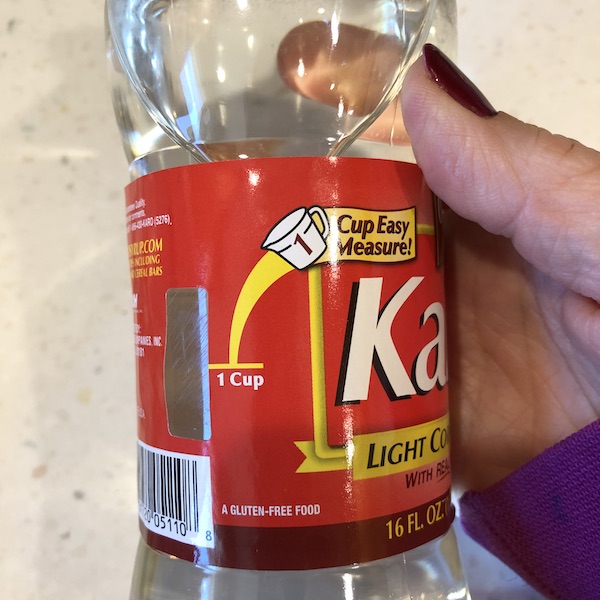
- Corn syrup This is not an ingredient I normally stock in my kitchen. It serves the purpose of making sure that the sugar does not recrystallize in the marshmallows.
I have tried making marshmallows with maple syrup instead of corn syrup. They crystalized. And although I adore maple flavor, I preferred regular vanilla marshmallows. (If you want a maple recipe, go to King Arthur Baking website – they have one there!)
If you would like to hear more about sugar, listen to The Sensitive Kitchen podcast, episode 022 to hear more and listen to me talk about making marshmallows.
How to Make Marshmallows.
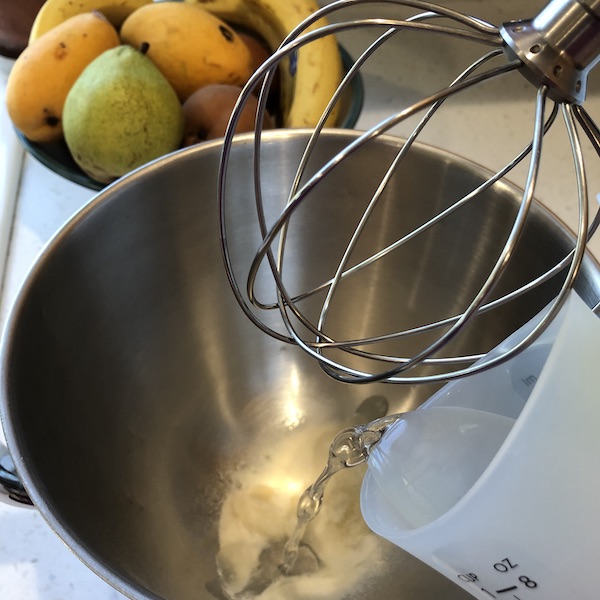
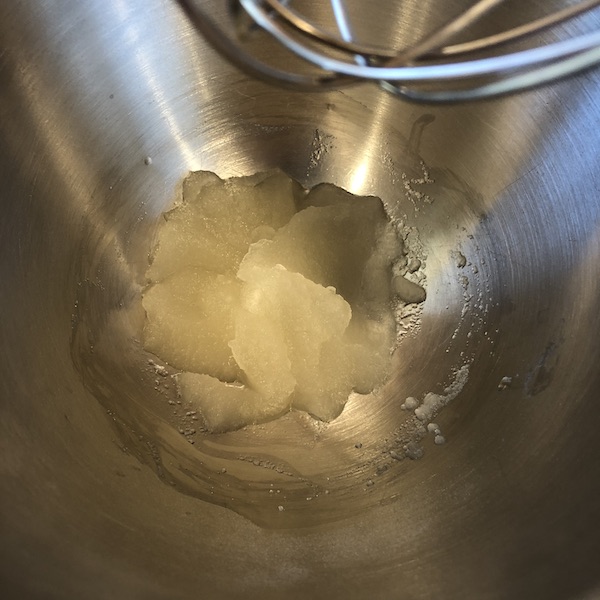
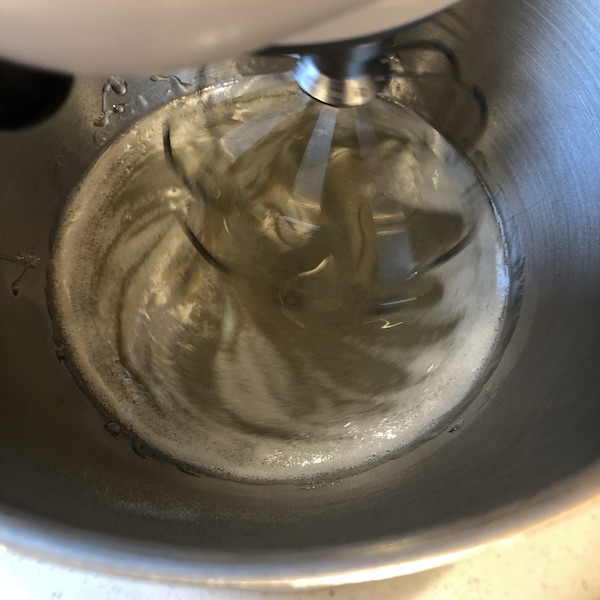
First put two (or three) packets of gelatin in the bowl of your stand mixer. Add one half cup cool water and mix to dissolve. I use the same heat resistant spatula that I am going to use to dissolve the sugar and scrape the pan after boiling the sugars and water.
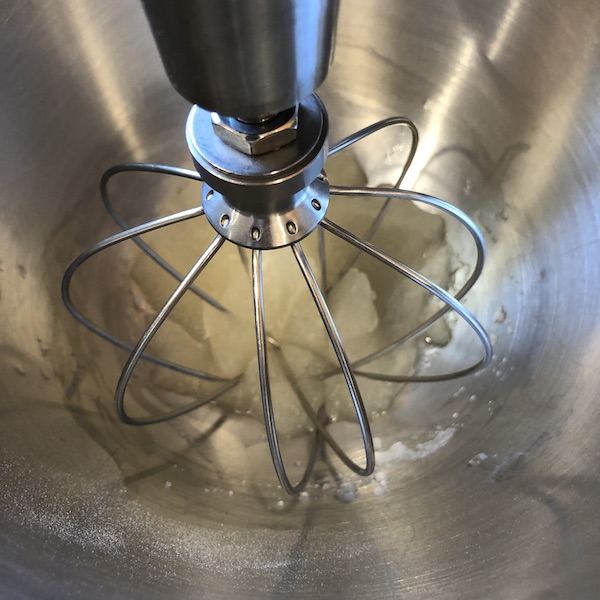
The gelatin will firm up as you prepare the other ingredients. Stir it once or twice and then rinse the spatula. Place the whisk attachment in your stand mixer.


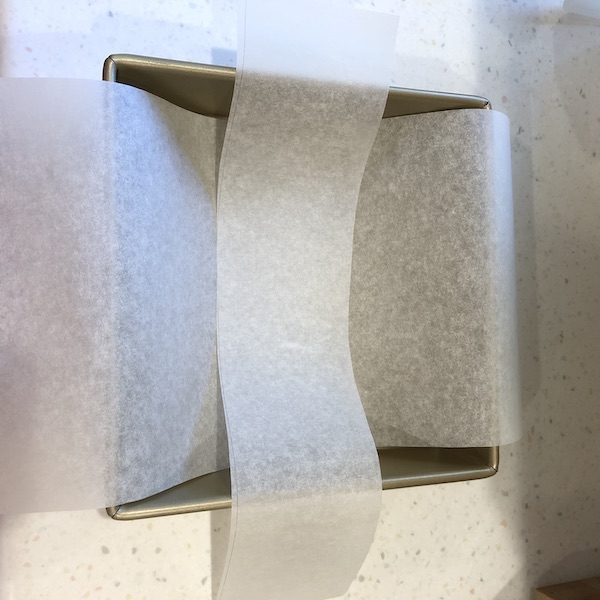
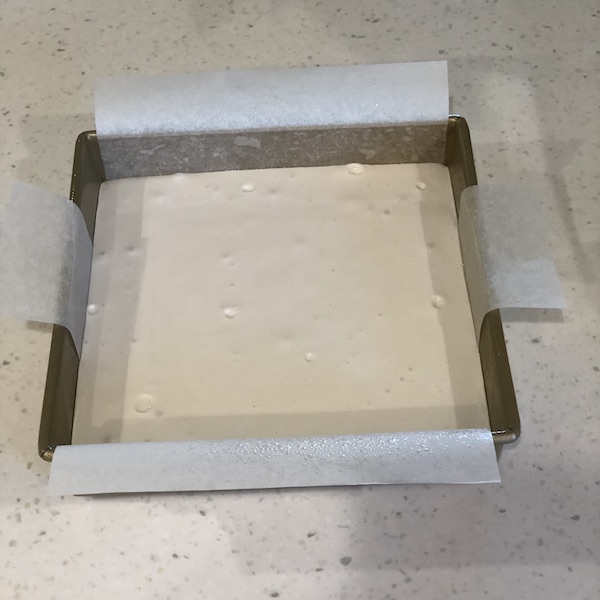
Prepare your pan. I use a 9 x 9 pan because I like my marshmallows thicker. You can also use a 9 x 13 pan or an 8 x 8 inch pan.
I cut a parchment sheet to fit one way in my pan. Then I use the extra to go the other way in the pan.
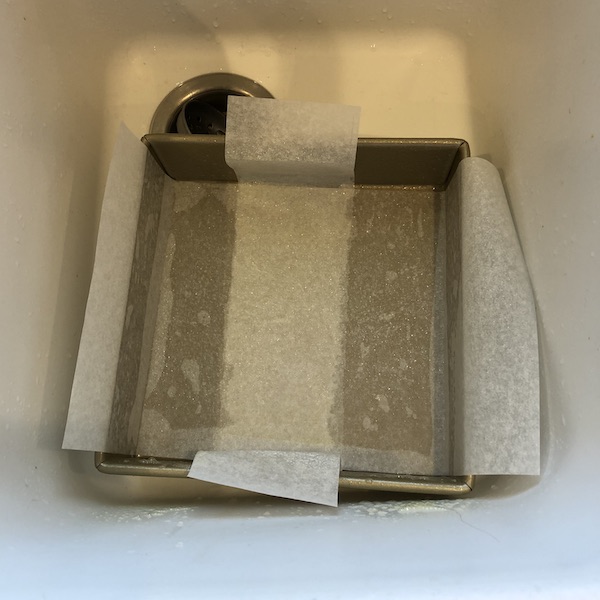
Place the thinner parchment in the pan with both sides of the parchment sticking up. Spray the pan with cooking spray and place the other parchment at 90 degrees to the first so that there will be parchment “handles” on both sides of the marshmallows. Spray the parchment. I have forgotten to spray the parchment. It was NOT pretty. Speaking from personal experience, do NOT skip spraying the parchment with cooking spray if you want your marshmallows to release.


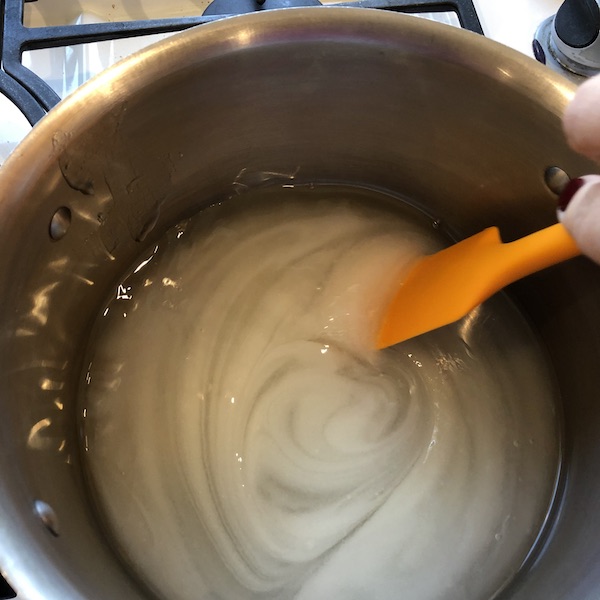
Now place the sugar, the other half of the water and corn syrup in a heavy pan over medium heat. Stir until the sugar dissolves, being careful not to get sugar on the side of the pan. (If you do rinse if off with a little water or a pastry brush dipped in water.)
After the sugar dissolves, turn up the heat to medium high / high and do not stir again. This is important as you do not want the sugar to recrystallize.
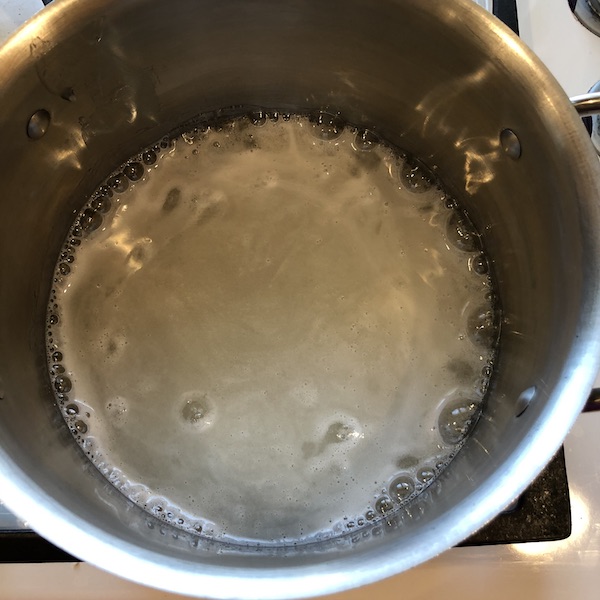
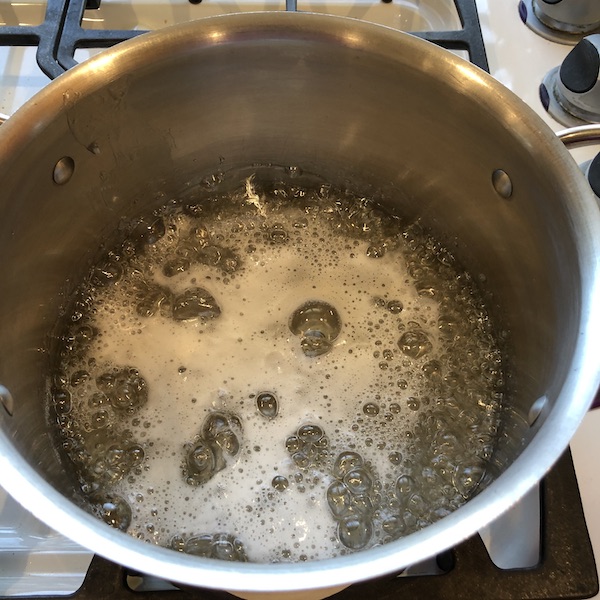

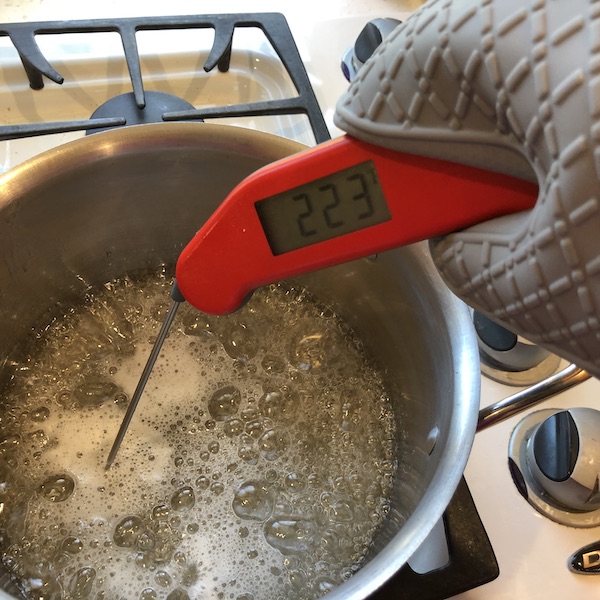
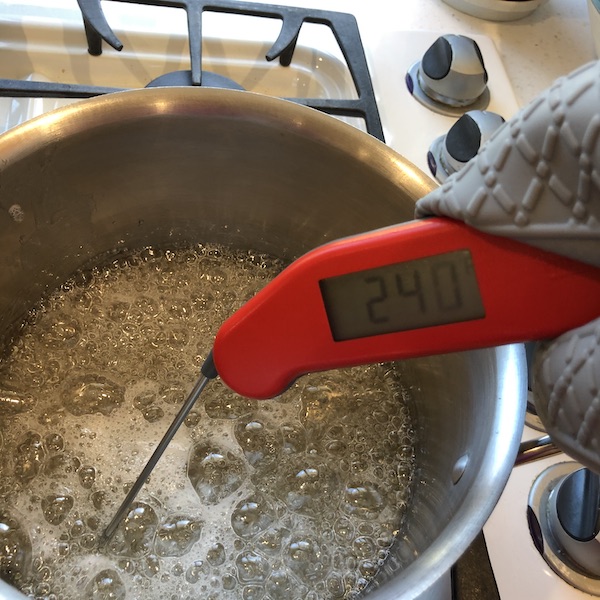
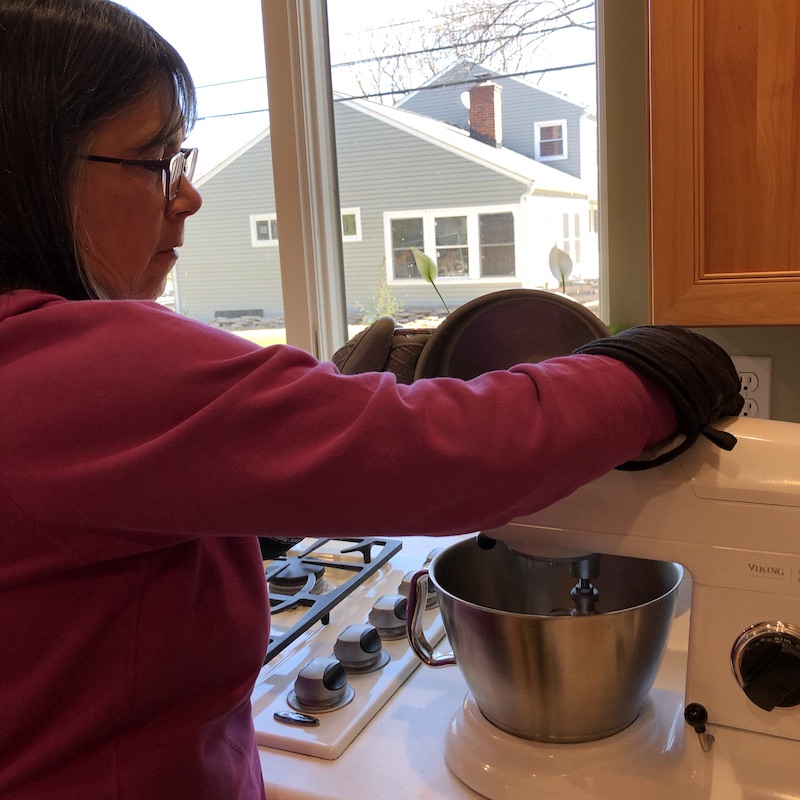
Cook until the sugar mixture reaches 240 degrees. Check several times if your thermometer does not stay suspended in your pan. Use your long silicone oven mitts on your hands when you check the temperature in several places in your pan.
When the temperature gets close to 240 stay close as the temperature can rise quickly at this point.
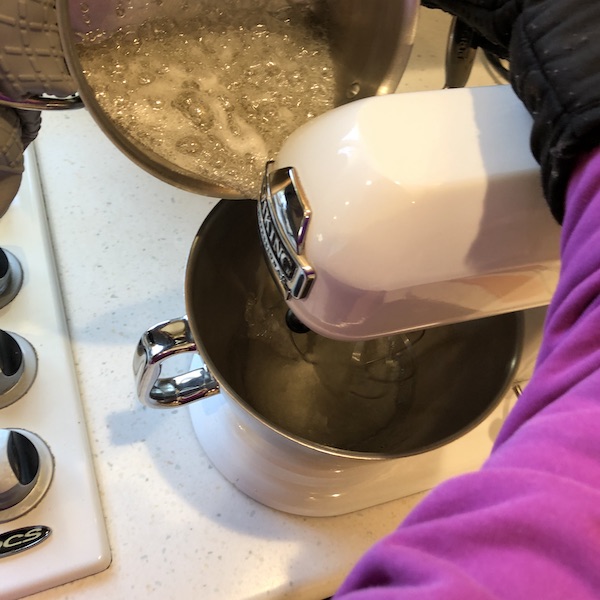
When your sugar mixture reaches 240 degrees, turn off the heat and turn your stand mixer to the low setting.
Slowly pour the sugar mixture between the side of the bowl and the beater while wearing the silicone oven mitts. Scrap the pan and turn the mixer to high.
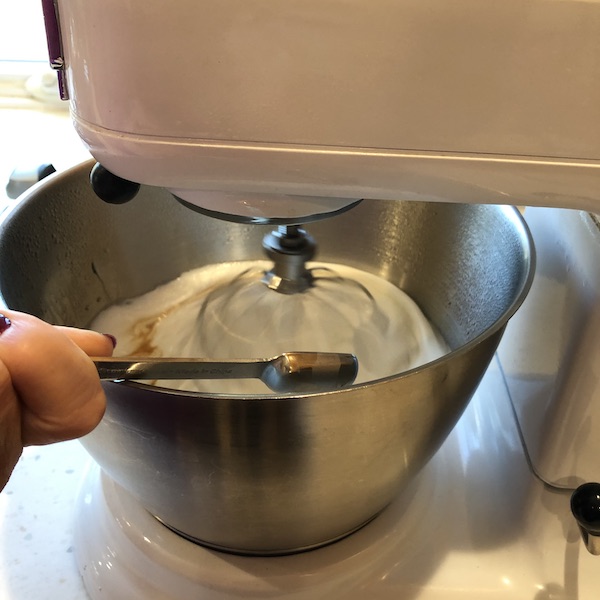
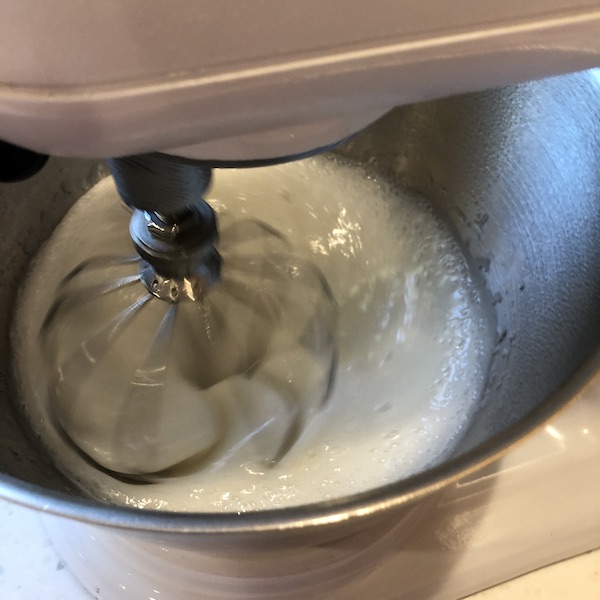
Beat the marshmallows until they turn white and become stiffer. They will be warm, but not hot (about 95 degrees). This will take about 5-8 minutes. Add the vanilla near the end of the mixing.
Because I only use two packets of gelatin, my marshmallows never form stiff peaks, but rather stay at the soft peak stage. If you used three packets of gelatin, yours may form stiff peaks.
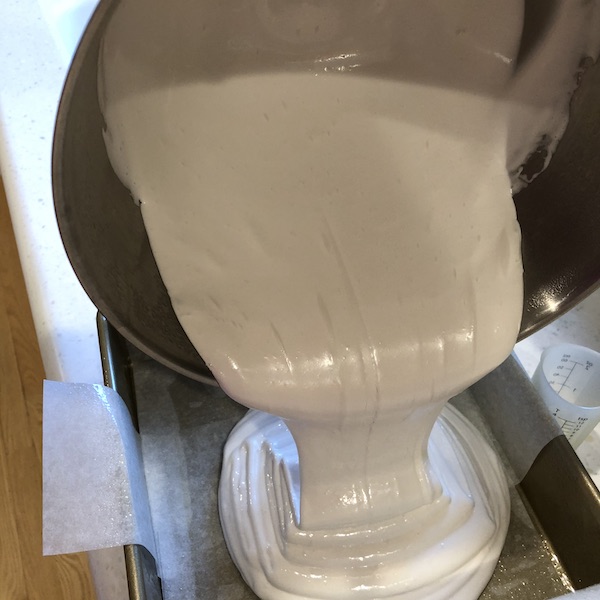
Quickly transfer the mixture to the prepared pan. Spread if necessary. Let stand for several hours or overnight for marshmallows to firm up.


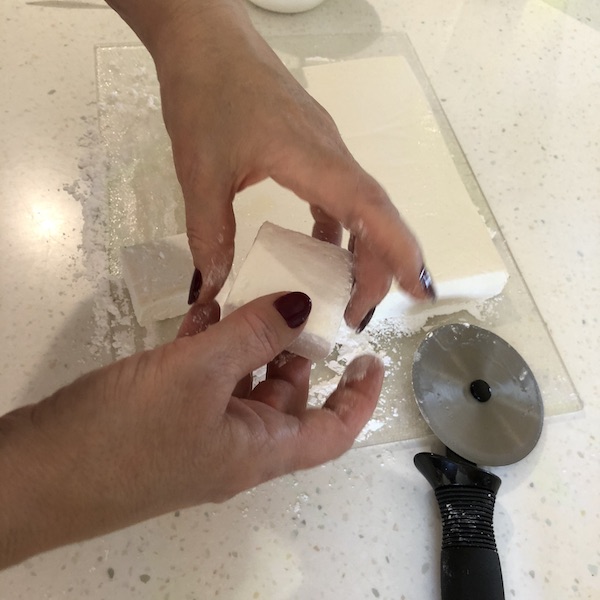
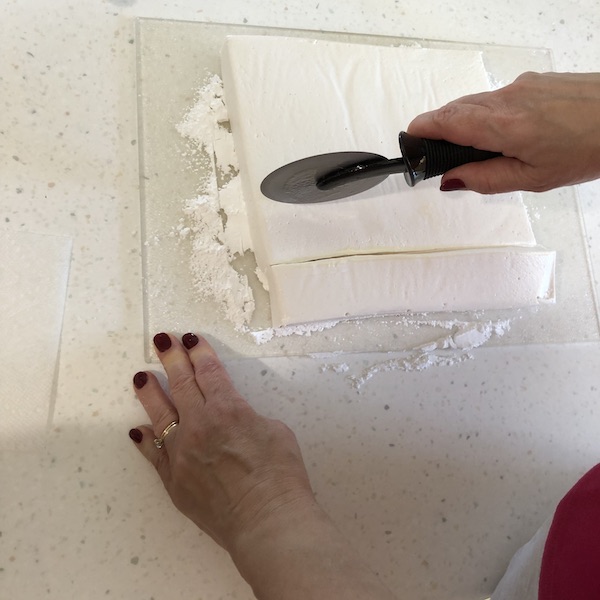
Now comes the hardest part of this recipe – cutting the marshmallows.
Wear an apron or old clothes as I usually end up with powdered sugar somewhere.
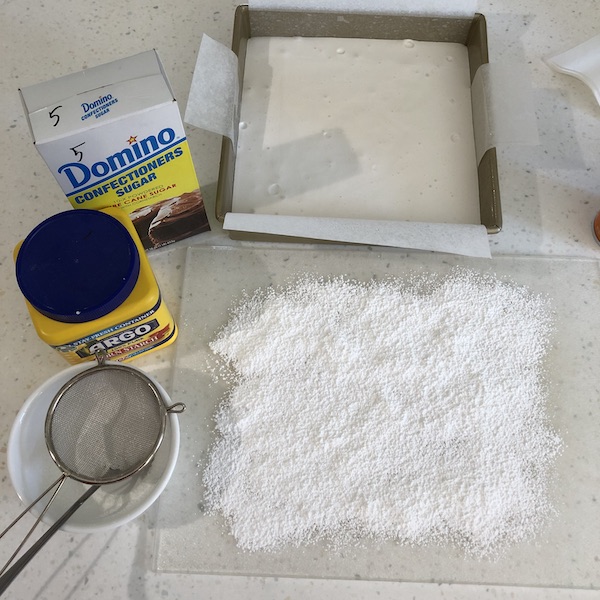
Carefully pull on both sides of the parchment to release the marshmallows. Take the whole slab of marshmallows out of the pan and put them on a cutting board sprinkled liberally with a mixture of powdered sugar and corn starch.
Powdered sugar already has corn starch added, but the last time I made marshmallows they were still sticky with just powdered sugar. So this time I added a bit more corn starch to my powdered sugar.
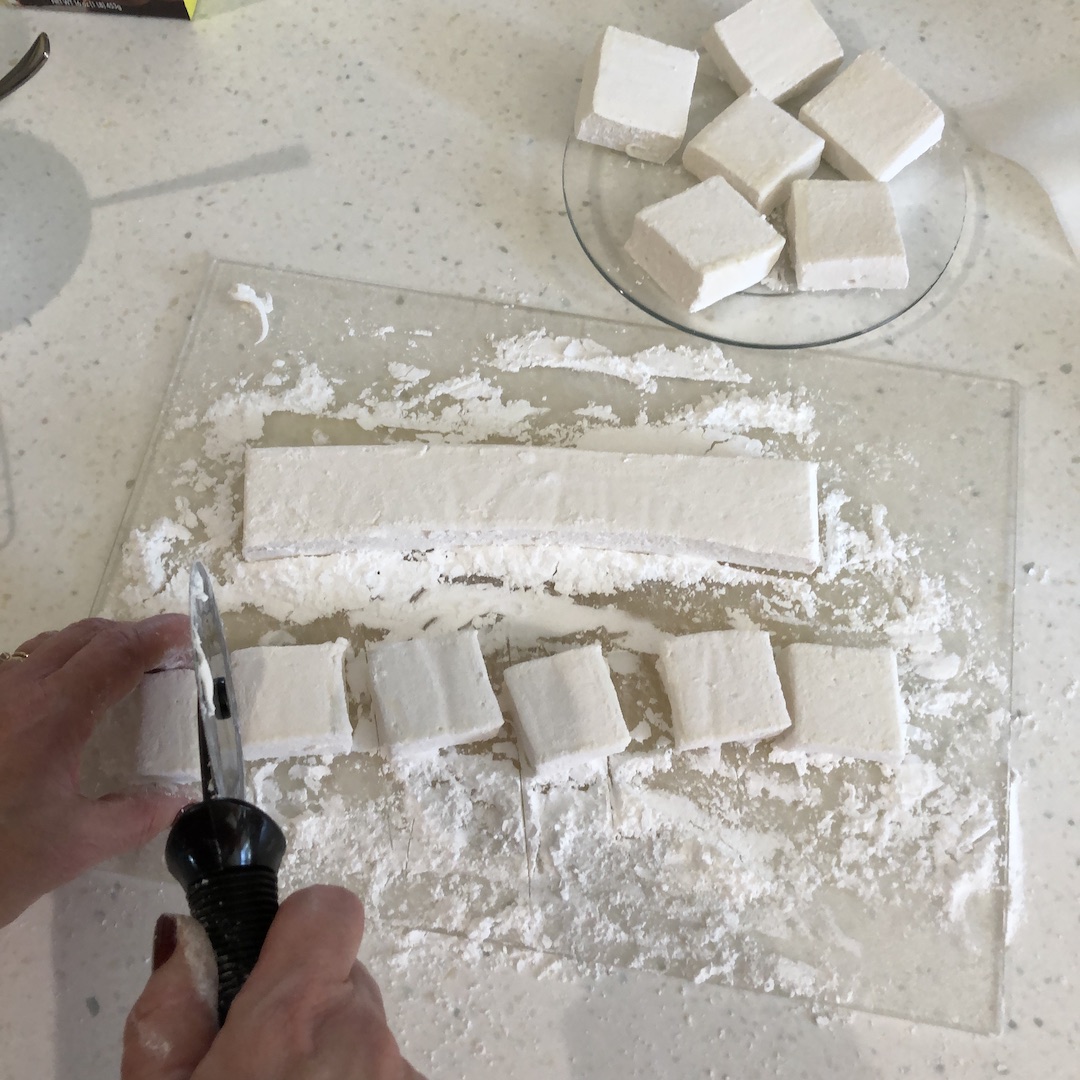
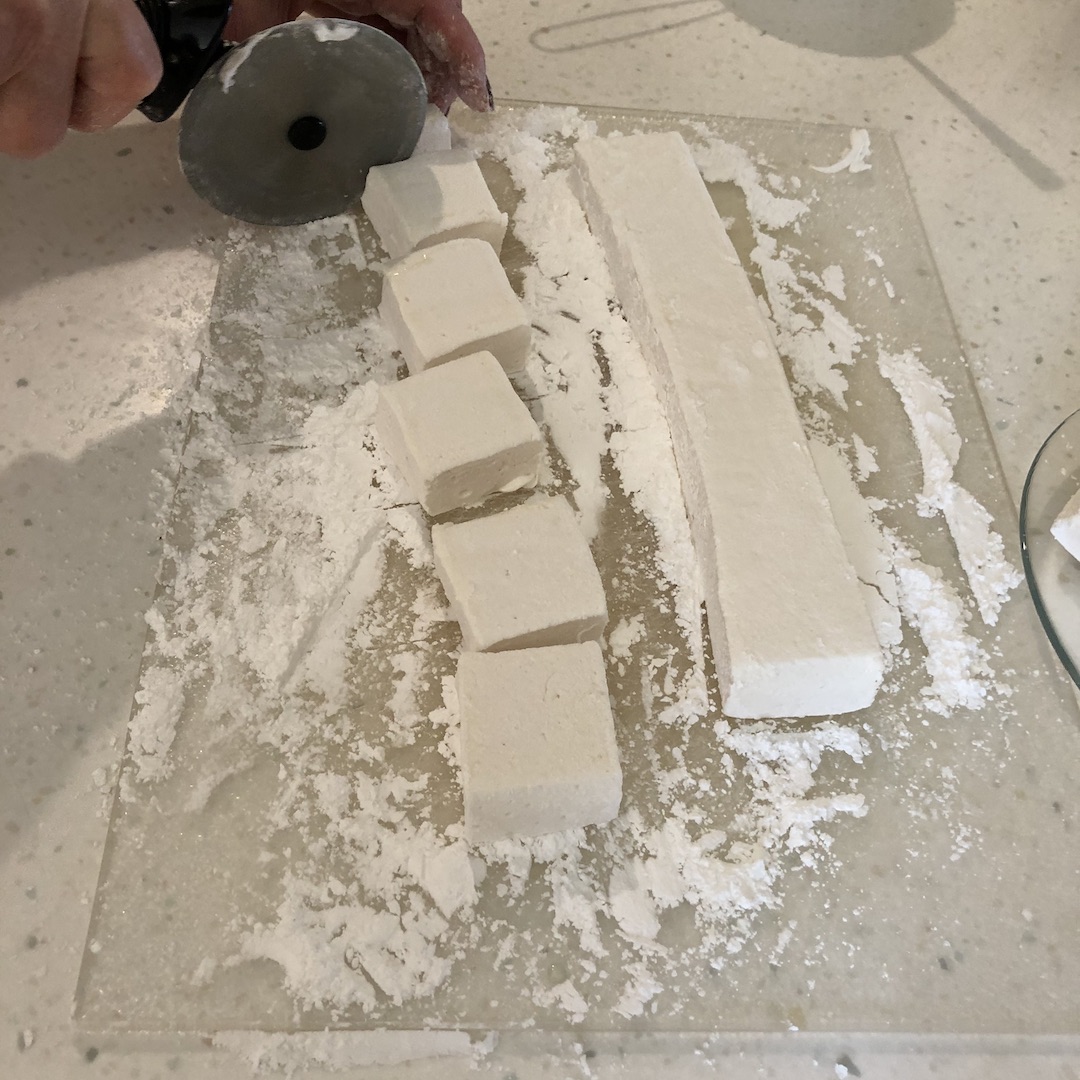
I find it easiest to use a pizza wheel sprayed with cooking spray to cut my marshmallows. Some people like a sharp knife sprayed with cooking spray. After a cut or two or three you will probably need to rinse off the marshmallow stuck to the cutting utensil.


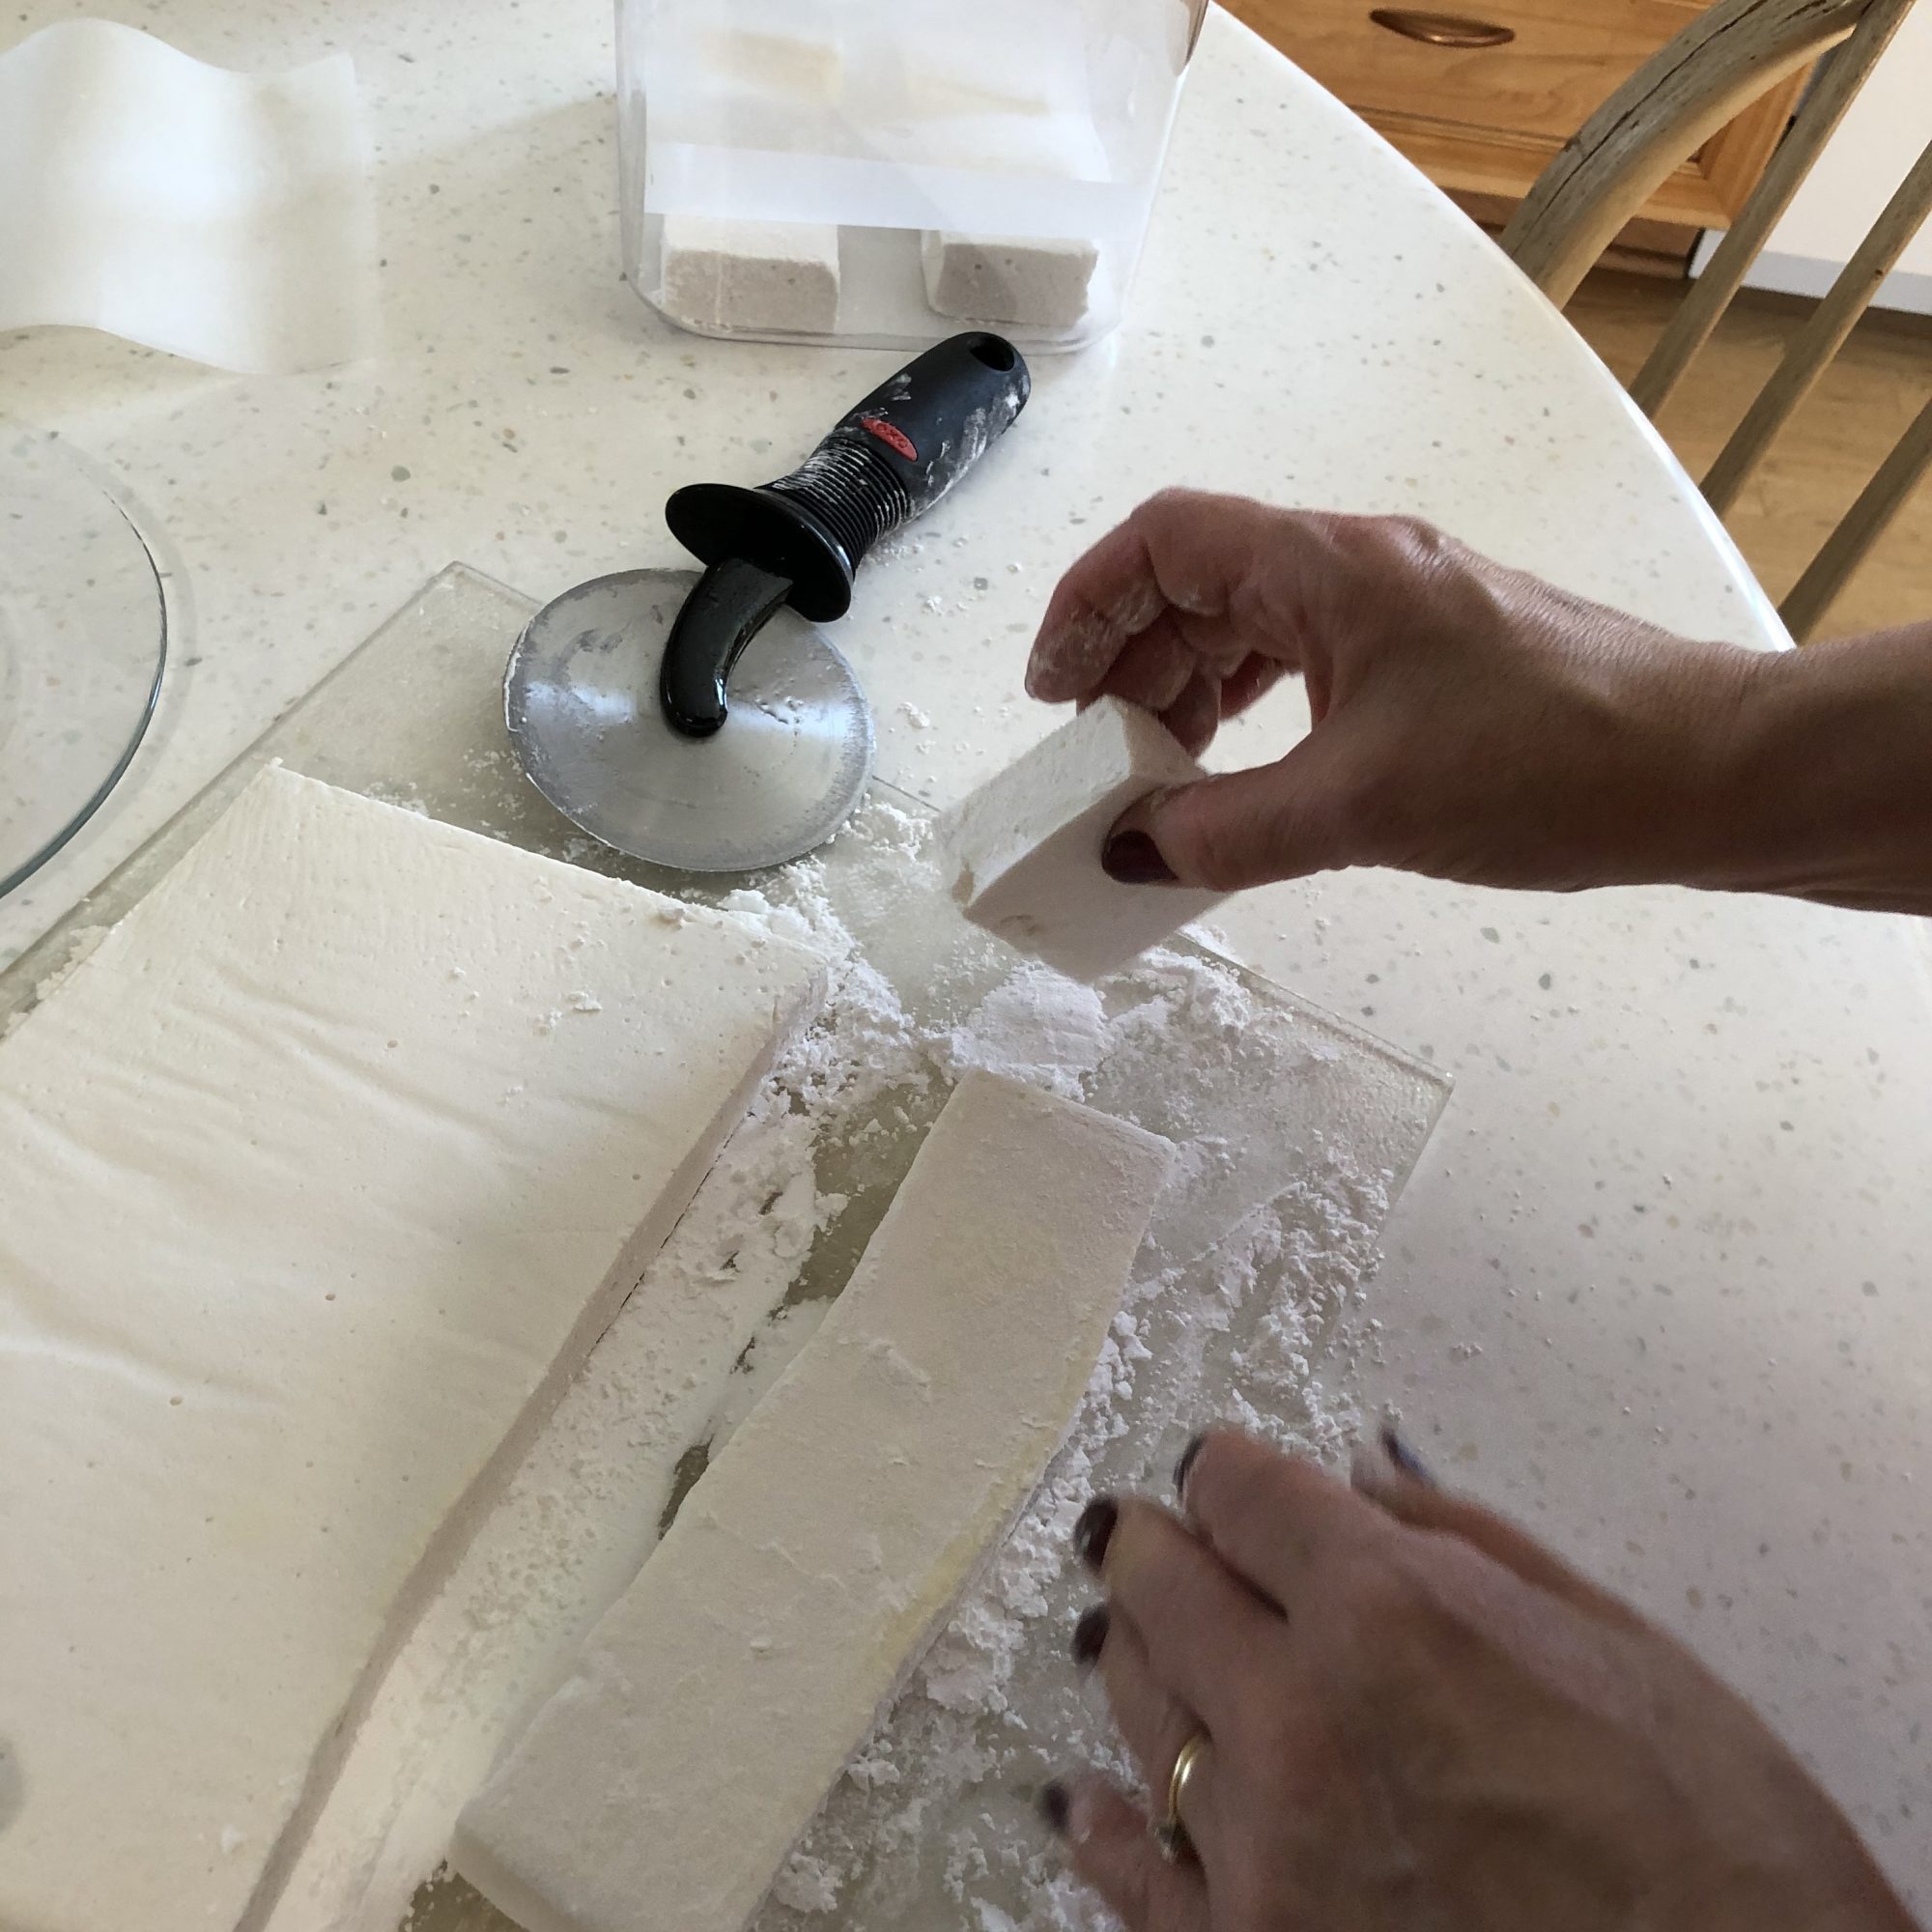
As I cut a strip of marshmallows, I turn that strip so that it is coated in powdered sugar to prevent sticking. Shake off any excess. Add more powdered sugar to your cutting board as necessary.
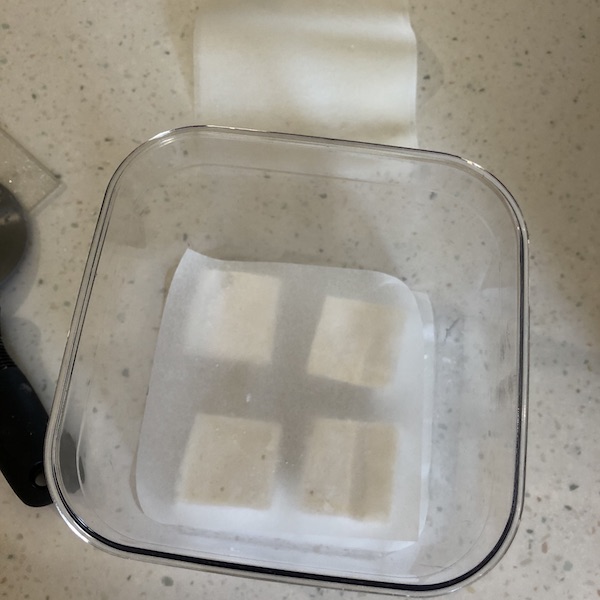
Store marshmallows in an airtight container with parchment between layers and space between adjacent marshmallows.


If you really want the crunch of peeps, sprinkle with colored sugar as they are cooling.
If you want different flavors, swap out the vanilla extract for peppermint, or other flavors.
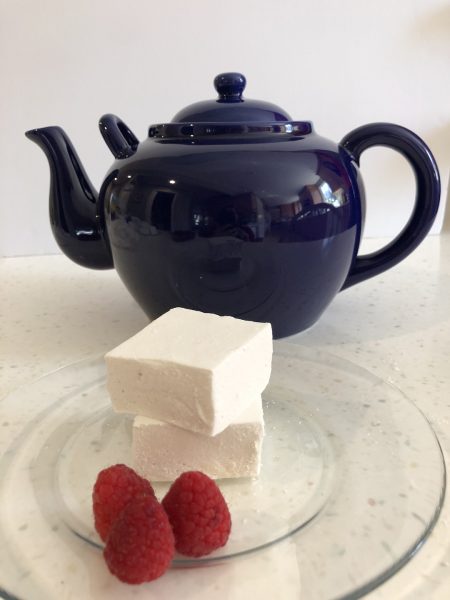
Homemade marshmallows are an occasional treat. But they are so good this is one of the ways I would gladly eat my sugar allowance!
You may have someone that would really appreciate a special treat with no added colors or flavors. They are naturally free of almost all allergens (except corn).
Enjoy and celebrate that Jesus rose from the dead and that we can have eternal life in Him. Because he rose, our sins are forgiven and we can live forever with Him! Now that’s good new worth celebrating! Alleluia!
Allergen Free Marshmallows
Equipment
- thermometer, candy or instant read
- silicone oven mitts
- stand mixer
- parchment paper
- heavy pot
- 9 x9 or 8 x 8 or 9 x 13 inches
- heat resistant spatula
Ingredients
- 2 packets unflavored, unsweetened gelatin *
- 1 cup cool water, divided
- 1½ cups granulated sugar
- 1 cup light corn syrup
- 1 tablespoon vanilla extract
- confectioners sugar ** to cut marshmallows
Instructions
- Place gelatin in the bowl of your stand mixer. Add one half cup cool water and mix to dissolve.

- Prepare your pan. Cut a parchment sheet to fit one way in pan. Place the thinner parchment in the pan with both sides of the parchment sticking up. Spray the pan with cooking spray and place the other parchment at 90 degrees to the first so that there will be parchment "handles" on both sides of the marshmallows. Spray the parchment with cooking spray.
- Place the sugar, the other half of the water and corn syrup in a heavy pan over medium heat. Stir until the sugar dissolves, being careful not to get sugar on the side of the pan. (If you do rinse if off with a little water or a pastry brush dipped in water.)
- After the sugar dissolves, turn up the heat to medium high / high and do not stir again. This is important as you do not want the sugar to recrystallize.
- Cook until the sugar mixture reaches 240 degrees. Check several times if your thermometer does not stay suspended in your pan. Use your long silicone oven mitts on your hands when you check the temperature in several places in your pan.
- When your sugar mixture reaches 240 degrees, turn off the heat and turn your stand mixer to the low setting.
- Slowly pour the sugar mixture between the side of the bowl and the beater while wearing the silicone oven mitts. Scrap the pan and turn the mixer to high.
- Beat the marshmallows until they turn white and become stiffer. They will be warm, but not hot (about 95 degrees). This will take about 5-8 minutes. Add the vanilla near the end of the mixing.
- Quickly transfer the mixture to the prepared pan. Spread if necessary. Let stand for several hours or overnight for marshmallows to firm up.
- Sprinkle a cutting board liberally with a mixture of powdered sugar and corn starch.
- To cut the marshmallows, carefully pull on both sides of the parchment to release the marshmallows. Take the whole slab of marshmallows out of the pan and put them on the cutting board.
- Cut a strip of marshmallows with a knife or pizza wheel.
- After cutting a strip of marshmallows, turn that strip so that it is coated in powdered sugar to prevent sticking. Shake off any excess. Add more powdered sugar to your cutting board as necessary. Cut into squares.
- Store marshmallows in an airtight container with parchment between layers and space between adjacent marshmallows.
- Enjoy!
Notes